Optical Micrometer 
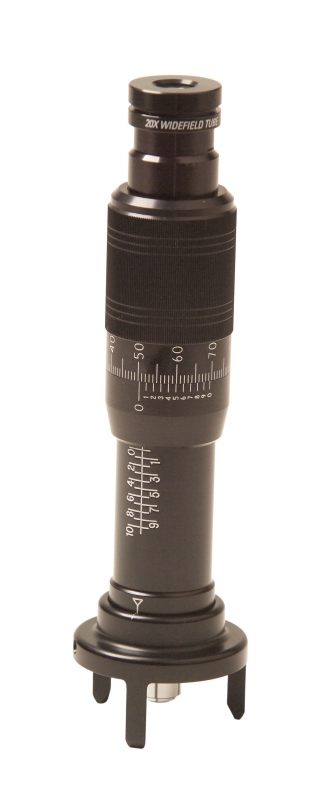
The Optical Micrometer is capable of making non-contact measurements on any surface, curved or flat. This instrument is useful for measuring depth of scratches, fractures, crazing, embedded voids and thickness of transparent materials (i.e. glass, acrylic). It can also measure scratches, cracks, corrosion, pits, blemishes, small dents and other imperfections. Using the optional reticle eyepiece on Model 966A, width measurements up to 0.040" can be made. This portable instrument is ideal for field applications such as windshields, leading edges, airframes, fuselage skin, propeller blades, rotor blades, turbine blades, coated surfaces, plus many more.
Description
The Optical Micrometer is designed with a rugged housing and easy-to-read vernier scale. Model 966 provides 100x power permitting depth measurement up to 0.665". Model 966A provides 200x power, which allows depth measurement up to 0.260". Both models are supplied with a standard tripod base that can be used on flat or simple curved surfaces.

To take a surface measurement, the operator positions the Optical Micrometer over the area to be examined. After proper focusing, the operator takes a reading at the highest surface in the specific area. A second reading is taken at the lowest surface, and measurement is calculated by computing the difference between the two readings.
|
Optical Micrometer Features |
Model 966 |
Model 966A |
|
Magnification |
100X |
200X |
|
Optics Working Distance (depth measurement) |
0.6650 |
0.2600 |
|
Micrometer Working Distance |
1.0000 |
1.0000 |
|
Material Thickness (transparent) |
0.9975 |
0.3900 |
|
Accuracy |
±0.0005 |
±0.0002 |
|
Image Area |
0.090 dia. |
0.060 dia. |
|
Image Focal Plane |
±0.0002 |
±0.0001 |
|
With reticle eyepiece (P/N 966AR) |
|
|
|
Width |
N/A |
up to 0.040 |
|
Accuracy |
N/A |
0.001 |
Units of measurement are shown in inches
NOTE: Model 966A1 Contains equipment (specifications) for both models above
Optional Accessories
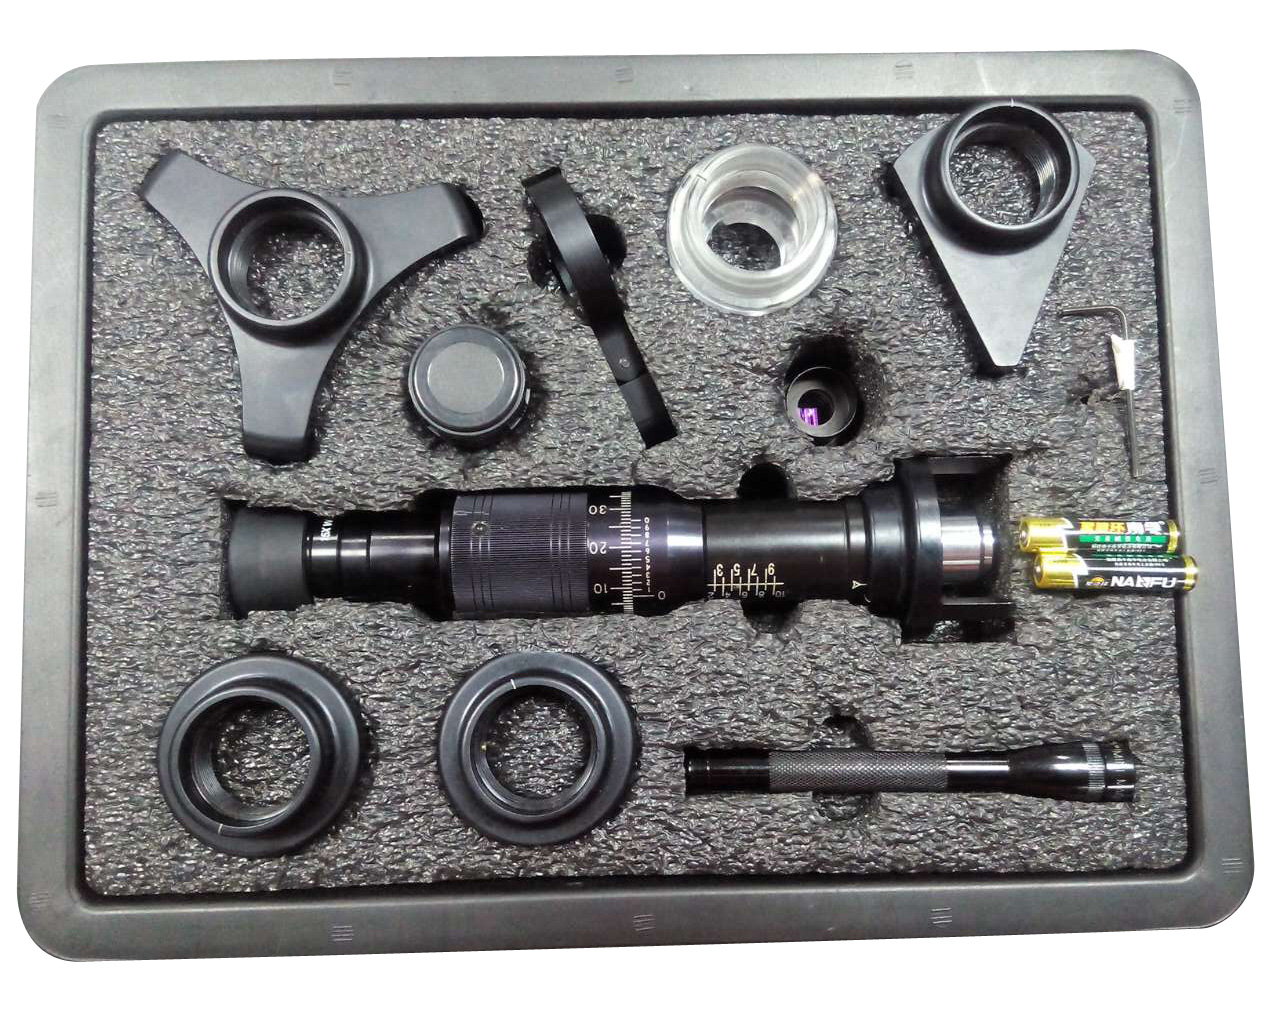
Six interchangeable mounting bases are available to accommodate convex, concave, or compound surfaces. A micrometer light adapter can also be used to illuminate the sample, making measurement easier to read.
-
Tripod Base - Provides the greatest overall utility for flat, simple and compound curved surfaces
-
Quadpod Base - Used for concave/convex curved surfaces
-
Offset Tripod Base - Permits measurement of flat or curved surfaces adjacent to protruding obstructions prohibiting use of tripod base
-
Wedge Bipod Base - Used when intersection of planed surfaces form angles of at least 80°

-
Translucent V-Block Base - Used for round surfaces, such as tubing, and external angles; provides flat support for areas with recesses on sides
-
Large Tripod Base - Used for applications requiring a larger support area than provided by tripod base; primarily used for small parts inspection
All six interchangeable bases are included with Model 966A1 Optical Micrometer Kit along with the micrometer light and adjustable bracket as shown in the image above.

